xPlora: Weather Station
Introduction
What’s the weather like today? Is it sunny outside, or are there clouds in the sky? Does the air feel hot, or is it cool?
The weather changes every day. It helps us decide what clothes to wear, what games we can play outside, and even affects how plants and animals behave.
Sometimes we try to guess the weather by looking at the sky or feeling the air with our hands. But wouldn’t it be more fun to build something that can measure it for real?
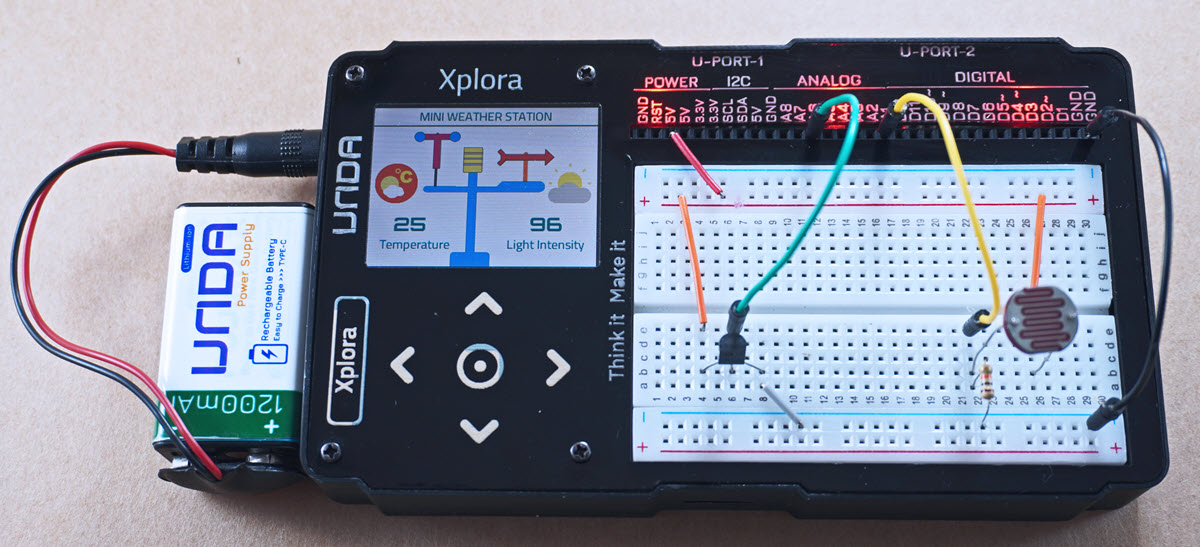
In this project, you’ll build a weather station that helps you observe and record the weather around you
This mini weather station uses a light sensor to tell how bright or dark it is. This helps you know if it’s sunny, cloudy, or getting close to sunset and temperature sensor to measure how hot or cold the air is.
With these sensors, you’ll be able to track how the weather changes during the day, compare morning and afternoon temperatures, and even see how indoor and outdoor weather feels different.
So no more weather guessing. Now you can read the weather like a meteorologist, using real tools and sensors to measure, track, and understand what’s happening in the world around you.
Let’s start building
Build the project
In this section we will explore how to use UNDA.Xplora to build the mini Weather Station.
Components
To build the project you will need:
| Component | Description |
|---|---|
| 1 x Light Sensor | 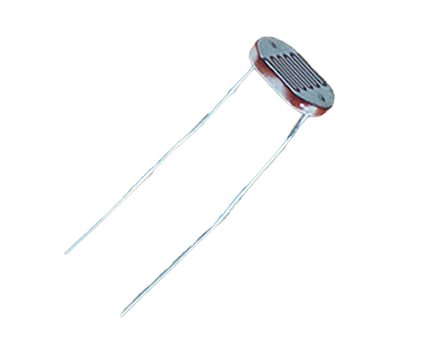 |
| 1 x Temperature Sensor | 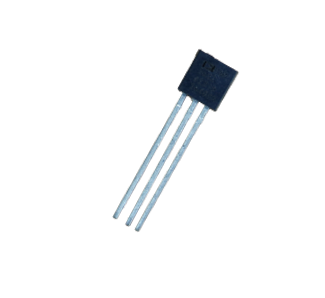 |
| 1 x resistor (10Kilo-Ohm) | 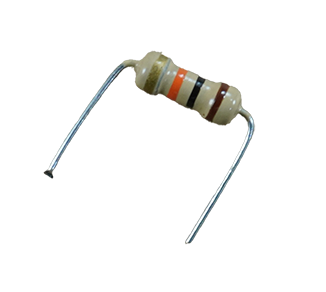 |
| 3 x jumper wire | 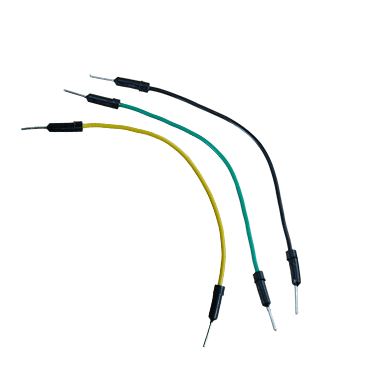 |
| 3 x breadboarding jumper wire | 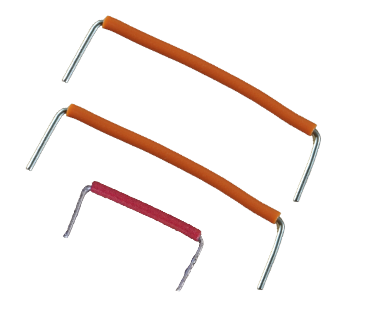 |
| 1 x battery connector | 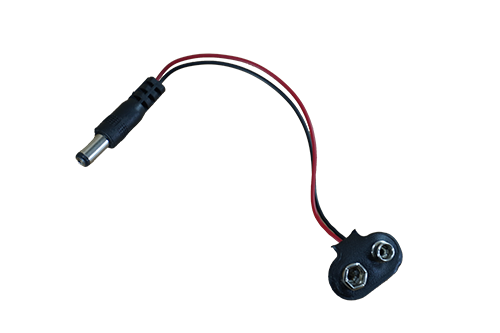 |
| 1 x battery | 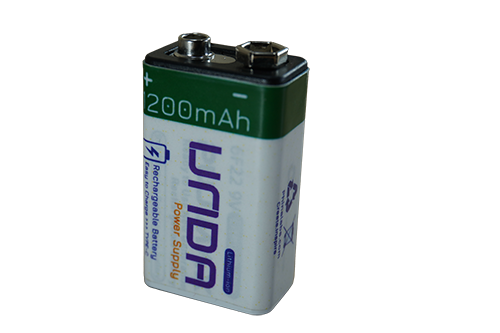 |
| 1 x Unda Xplora | 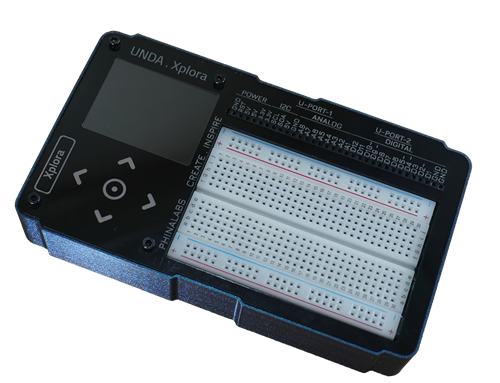 |
Step 1
Connecting the Light Sensor on the breadboard
- Step
- Build
-
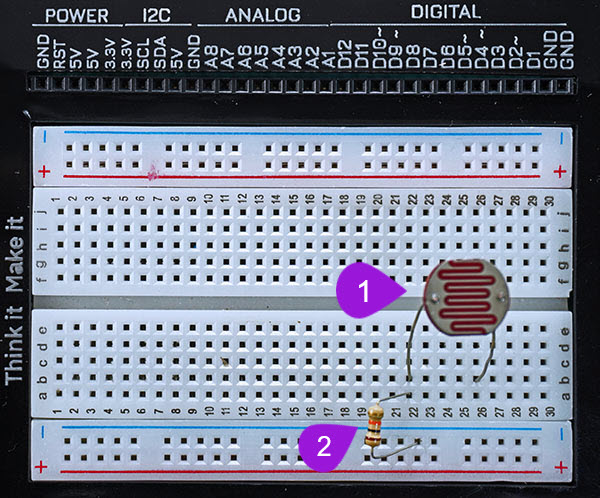
Inserting the Light Sensor: Pick the Light Sensor from the components casing. The light sensor has two legs and it also has no polarity and thus you can connect it in any orientation. Insert the one of its' legs into breadboard pin b22 and then plug the other leg of the light sensor into breadboard pin b26.
-
Connecting the sensor to a resistor: Pick a 10K (10 Kilo-ohm) resistor from the components casing. Insert one of the ends of the resistor into any pin on the bottom negative breadboard rail. Plug the other end into breadoard pin a22 next to one of the legs of the light sensor.
Step 2
Wiring the Light Sensor on the breadboard
- Step
- Build
-
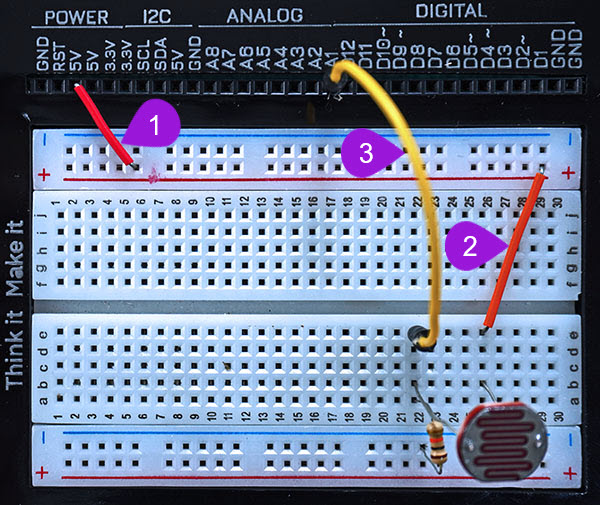
Connecting to top breadboard positive rail: Using one breadboarding jumper wire, connect from any 5V pin of the kit to the top positive breadboard rail .
-
Connecting to positive of the Light Sensor: Take another breadboarding jumper wire and connect from the top positive breadboard rail to the second pin of the sensor at pin e26 of the breadboard.
-
Connecting the Light sensor to analog pin: Pick a jumper wire of any colour of your choice and plug one of its' end into analog pin A1 of your UNDA.Xplora. Plug the other end of the jumper wire into breadboard pin e22 next to the second pin of the light sensor.
Step 3
Connecting the Temperature Sensor on the breadboard
- Step
- Build
-
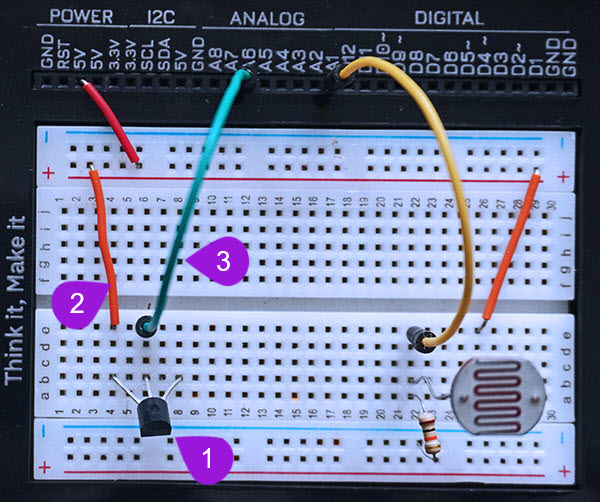
Connecting the temperature sensor: Take the temperature sensor from the components kit. Connect it with the flat side facing you and bulgy side facing away from you. Connect the positive pin , which is pin 1 of the sensor into breadbord pin b10. Proceed to insert the second pin(signal pin) into breadboard pin b12 and the third pin which is the negative pin of the sensor into breadboard pin b14.
-
Connecting to positive of the Temperature Sensor: Take another breadboarding jumper wire and connect from the top positive breadboard rail to the third pin of the sensor at pin e4 of the breadboard.
-
Connecting the signal pin of the sensor: Using a jumper wire, insert one end of the wire into analog pin A6 of your UNDA.Xplora. Insert the other end of the jumper wire into breadboard pin e6 next to the signal pin of the temperature sensor.
Step 4
Connecting the circuit to Ground(GND)
- Step
- Build
-
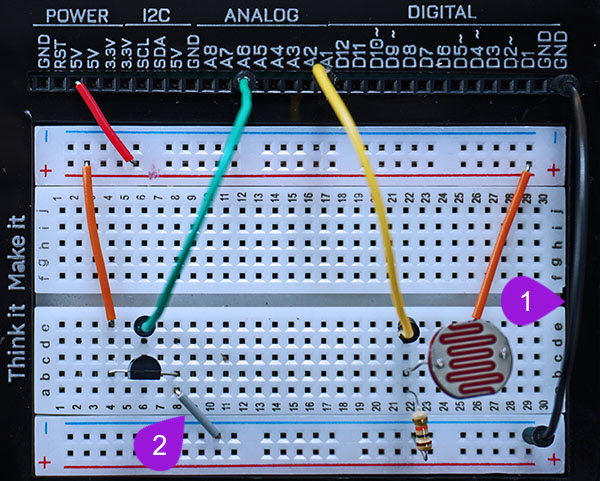
Connecting from GND: Using a jumper wire, insert one end of the wire into any GND of your UNDA.Xplora. Insert the other end of the jumper wire into any breadboard pin in the bottom negative breadboard rail.
-
Connecting to the negative of the Temperature Sensor: Take another breadboarding jumper wire and connect from the bottom negative breadboard rail to the first pin of the sensor at pin a8 of the breadboard.
Run the Project
After you are done building the project, connect the battery to the battery connector and then plug it to the power port of your UNDA.Xplora to power it on.
Follow the steps below to load up the Weather Station Project
Open Project
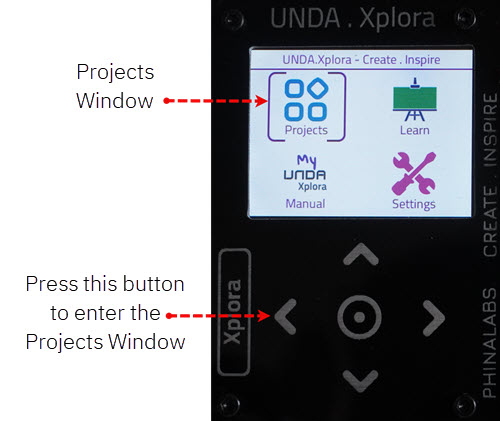
From the main window open the projects